 |
| All wrinkly and blah. |


Before I started searching the internet for trim, I thought I'd check the local Joann's Fabric trim section especially since I had a 40% off coupon. I was thrilled to find that not only did they have a nice wide greek key-patterned trim, but it was in colors that would work in my new bedroom!
 |
| A silver-y aqua greek key on a chocolate brown background. |
I needed 6 yards, so with the coupon, I got the trim for $23. I grabbed a little Stitch Witchery too (iron-on fusible webbing tape that you use to bond two pieces of fabric together), with a plan to iron that gorgeousness straight onto the curtains I bought at Ikea.
First, I had to hem the curtains. I wanted them a little long and to pool on the floor, so I just folded up the bottom of the panels about half an inch or so. I used the hemming without sewing (unless you want to) method, also outlined here. And here. The curtains from Ikea come pre-packaged with enough Stitch Witchery tape to hem each panel.

To attach the greek-key trim, I just ran two strips of the fusible tape (since I couldn't find the tape in a width that matched the width of the trim) along the inside edge of the panel.

Then, working in about 2-foot sections at a time, I held the trim in place while I slowly applied heat with my iron until it bonded. The trim is woven and a little thicker than ribbon or cotton fabric, so it took a few passes with the iron and a little pressure to get it to stick to the curtain. For the ends, I just let about two inches of the trim hang off the top and bottom of the panel until I was done applying the trim along the side of the panel. Once I was done with that, I turned the panel over, folding over the trim, and ironing to the back side using the fusible tape just as I did along the front.

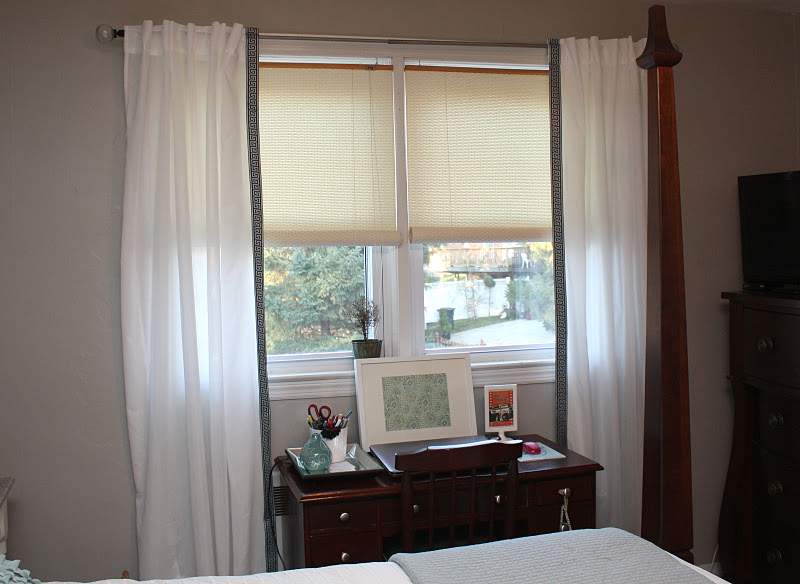
It took about an hour and a half to do both panels, but that includes hemming the bottom and then ironing the curtains after the trim was attached. It was worth it! For about $40 I have these:

 |
| So dreamy... |

1 comment:
I must be terribly unobservant since I didn't even notice them yesterday....
Post a Comment